Frame base
Print the skid plate, side rails, front/rear crossmembers, battery tray, and deck plate. Install heat-set inserts before bolting the rectangle square.
 K2Aley GAR-BOT Assembly View
Exploded build layout
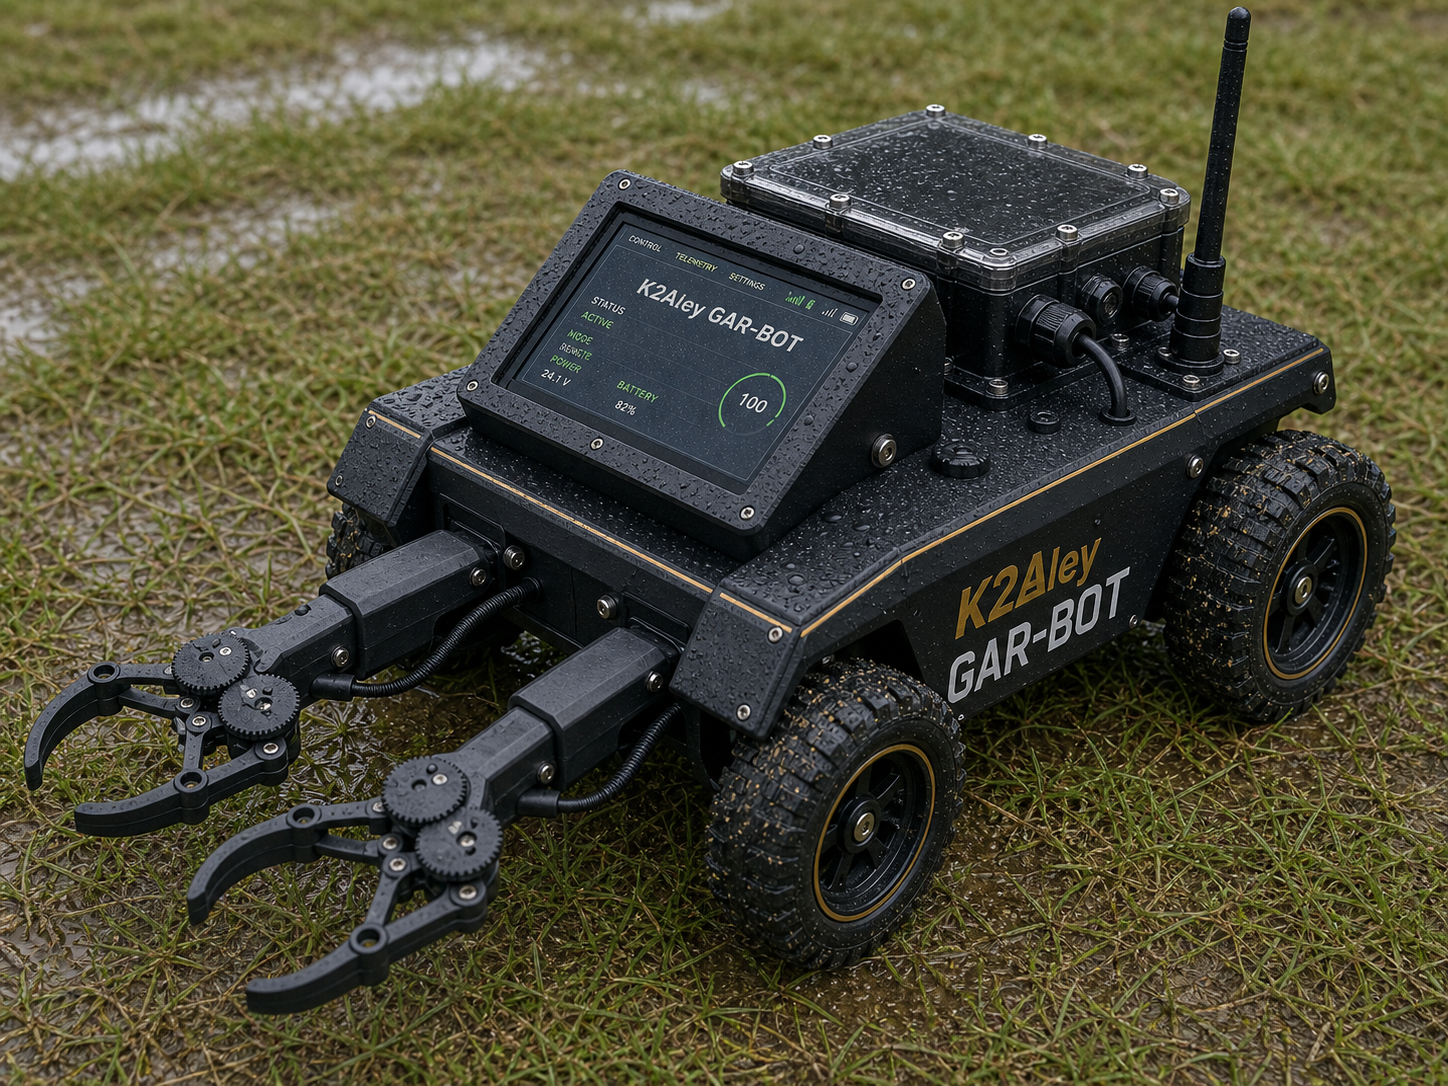
The view below shows the main printed structure in assembly order: bottom frame, motor shields, electronics bay, top deck, touchscreen frame, front shoulder bridge, the two telescopic claws mounted on the front left and right shoulders, and nine RGB LED ground-effect modules under the frame; sealed pods are required before splash testing. The drivetrain is direct-drive only: no chain, no sprockets.
Visible connections
Assembly order
Print the skid plate, side rails, front/rear crossmembers, battery tray, and deck plate. Install heat-set inserts before bolting the rectangle square.
Mount the four direct-drive wheel motors with motor splash shields and route motor leads toward the cable gland panel. No chain, no sprockets, no exposed belt reduction. Keep motor power separate from signal wiring until the common ground point.
Fit the protective electronics bay, gasketed lid, IBT-2 covers, buck converter cover, and LoRa antenna bulkhead guard. Dry-use only until exposed electronics are enclosed and leak-tested.
Add the touchscreen uprights/top bar/rain hood, then bolt the front shoulder bridge in place. Mount the two claw bases on the front left and right shoulder pads, then fit the telescopic outer sleeves, inner sliders, lock collars, palm, fingers, link bars, gear guard, and wire covers.
Add nine RGB LED star modules under the body with clear sealed pods required before splash testing: three front, three left, and three right. Mount one up/down servo on each side rail to tilt the side light rails, and drive LEDs from a fused lighting branch plus RGB driver/MOSFET board.
Print files